Efficient Tips to Prepare Your Wall for Painting
If you want to dramatically change your interior looks without spending with both hands, then wall painting is the best option for you. If you think you can get it painted after cementing or you can get it repainted on the same colored wall, you are highly mistaken. You need to devote some time to preparing your walls for efficient painting.
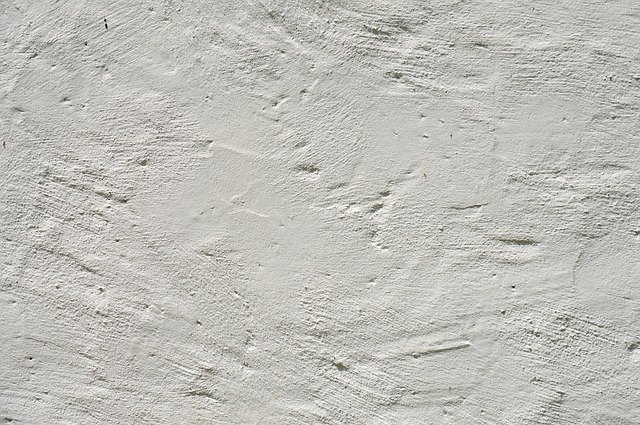
Without proper preparation of the surface, all your efforts to achieve a beautifully painted wall will go down the drain. Even if you think that the whole preparation process is quite hectic, it is absolutely necessary that you take important measures for the best results. A well-plastered wall will serve as the right base for a gorgeously painted wall, and if you are wondering about the method, here’s how you do it.
Table of Contents
1. Clear the Walls
Professional painters always advise their customers to ensure that they clean the walls and get rid of unwanted products from the wall for efficient painting. If you have wallpaper, strip it down smoothly without damaging the walls. Once the bare wall is available to you, clean it with sugar soap and wash it thoroughly to get rid of any grease or stains.
2. Suction Test

Simply put, if you are working on plasterboard the suction will be low, whereas it will be considerably high on brick walls. The suction test helps in efficient plastering and after that painting. Painting experts suggest taking a small part of plaster and smoothening it on the desired surface. See if it dries really quickly or remains wet after 3-4 minutes of application. This will decide whether you need supporting elements or not.
3. PVA Application
Once you are done with the suction test and if you see that the plaster is drying quickly, you will need PVA for better results. PVA acts as a primer that helps in keeping the surface wet for a long time which makes the plaster strong and helps in proper sticking to the surface.
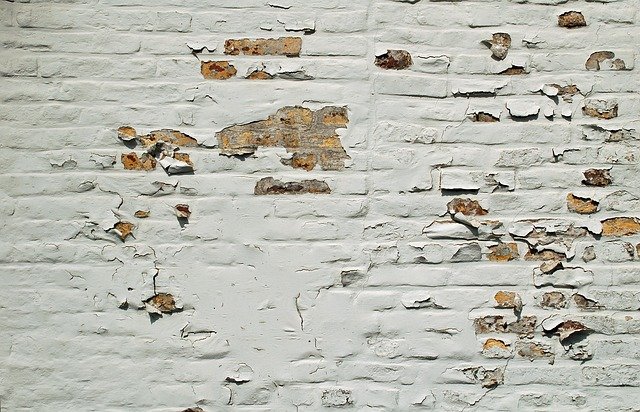
4. Taking Care of Cracks

If you don’t check for cracks or holes and let the paint sit on such an unevenly textured wall, you will be highly disappointed with the results. Make sure that before you begin, you check the walls for cracks and fill them for evening the surface. Once it is filled, wipe them clean and wait for some time before you begin with priming.
5. Cleaning the Walls
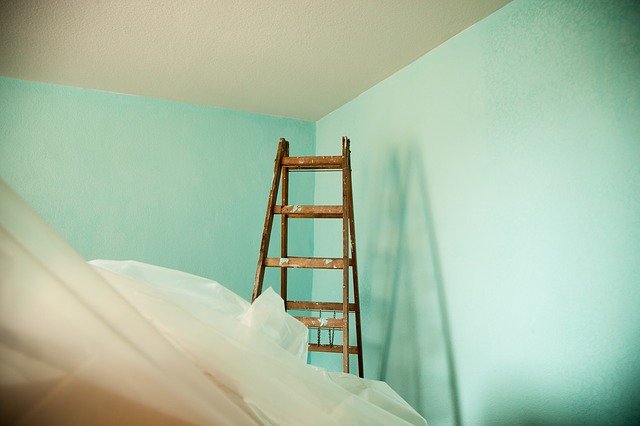
Before you go ahead with any process, make sure that you properly dust and clean the walls to prepare them for base coats. Once you are done with the crack repairs, clean the walls again to get rid of any lumps or bubbles on the wall for a proper finish. United States renovation specialists believe this step to play a crucial role in effective wall preparation.
6. Masking Tape is a Must
Masking tape or painter’s tape is one of the most essential elements which ensures proper painting. This tape is available in a variety of adhesives and is applied firmly along the edges of the walls for efficient masking. With the use of this product, you need not worry about painting on wrong edges or overlapping paint which reduces the painter’s stress, thus increasing work efficiency.
7. Primer is Important
Primer is very important because it smoothens and preps the surface for painting. Once you have filled the cracks and cleaned the walls, start with the primer. You can also opt for paints that are already laced with primer formula.
With these steps in mind, professed by the house painting specialists, you cannot go wrong and, can efficiently prepare your walls for painting. Always remember that for a beautifully painted surface, the base needs to be strong and flawless and the above-mentioned tips will help you achieve it with ease.